
Here is a situation that can be confusing for those who have the Complete license.
As you should know, the Complete license entitles you to use other kinds of targets to do calibrations. This we call the “P2P-less” operation. In essence, the software creates a P2P51 behind the scenes using sophisticated regeneration algorithms, based on the patches in the targets you place in the Measurements area.
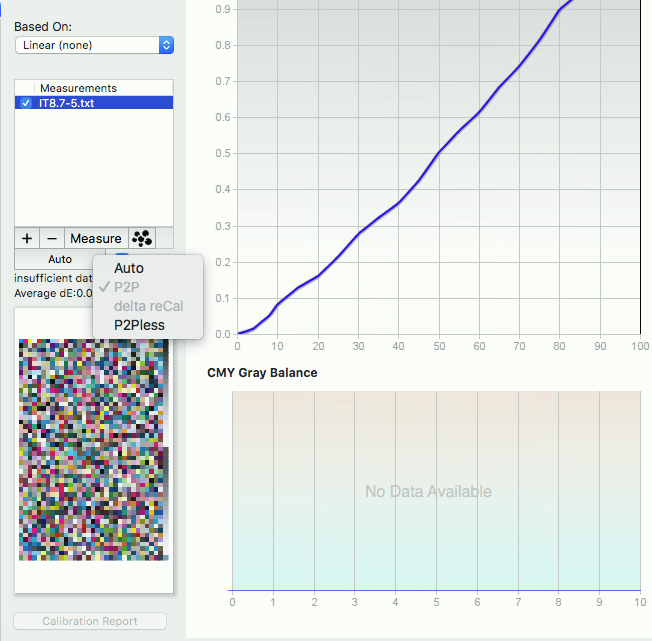
When the button reads “Auto (P2P)”, this means you probably already have a P2P chart in your measurements window, and it’s a simple matter to use that P2P info to do the calibration calculations.
When the Auto button reads “Auto (P2Pless)” the software is employing the P2P-less operation to interpolate a P2P for calibration.
Another option is for the button to read Auto (deltaReCal) for when you are using one of the delta ReCal targets.
Clicking the Auto button allows you to switch one of these options specifically. With an IT8 in the measurements area, for example, you can choose to change the Auto button to “P2Pless” and the software will specifically look to make a P2Pless calibration.
You also have the option of choosing “P2P". This will force the software to look for a P2P in the data in the measurements area, without using the P2P-less feature. If you don’t have P2P data in the measurements area, then it obviously won’t find it. The various fields and graphs in the Calibrate module may show results for solids and overprints, based on what data it finds in your measurement data, but if there’s no P2P there to do the rest of the calculations, then many of the fields will be blank.
Most people will want to leave this button on “Auto”. Manually switching to just “P2P” might be useful if you have a OneRun target and merely want to have Curve4 use the P2P that is built into that target.
________
